
Replacing Rope Seals on your Woodburner
In this help topic we’ll give you tips and pointers on how to replace the rope seals on your woodburner or multi fuel stove. Replacing Door Rope Seals on your Woodburning or Multi-fuel stove is all part of routine maintenance. Door seals are crucial to the performance of your appliance, so it is important they are adequate and fitted correctly. The purpose of a rope seal is to form an airtight seal around the fire door. An airtight seal prevents combustion air from being drawn into the firebox. Should this happen, you will have difficulty in controlling the fire and burn through your fuel much quicker.
Renewing rope seals is fairly straightforward and the majority of customers are able to undertake the work themselves. However, if you have any doubts or concerns, we advise that you seek the expertise of a suitably qualified engineer. Glass rope seals and high-temperature adhesives can be irritating to skin, so ensure you wear suitable gloves. With so many stoves on the market, it is difficult to make a ‘one-fits-all’ guide to changing rope seals. Below is a step-by-step guide to get you started.
4 Easy steps to replacing rope seals
-
What will you need?
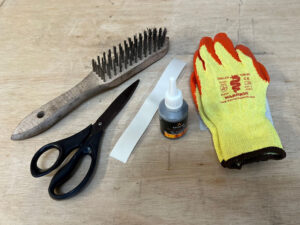
Suitable rope (See Below: Diameter, Length and Grade), High-Temperature Rope Adhesive (Not Fire Cement), End Sealing Tape, Scissors, Stiff/Wire Brush, Gloves.
-
Choose your rope size carefully.
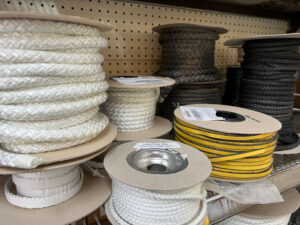
Selecting the correct rope size can be tricky. Even if you know the diameter of stove rope you require, they can be supplied in different grades. For example; A 9mm continental rope may differ from 9mm standard rope We would always suggest, where possible, you stick to the manufacturers recommended product. Most reputable manufacturers will provide a designated service kit for your appliance. Our generic rope, adhesive and end sealing tape can be found here, or alternatively, find your manufacturers recommended kit within the respective product categories. If you need any help just let us know.
-
Preparation
Wait until the stove is fully cooled. Where possible, remove the door/s from the appliance and lay them on a flat surface. You may wish to lay them on something to protect your worktop/table. With gloves, remove the old rope seal and dispose of. Clean the area where the rope has been removed. Remove any old adhesive, rope, debris or ash. This is where the stiff/wire brush comes in handy, but take care not to damage the door or the glass.
Bind just one of the rope ends with End Sealing Tape.
Ensure the rope adhesive has been shaken in case separation has occurred in transit. It would also be wise to familiarise yourself with the adhesive instructions at this point.
-
Replacing Rope Seals
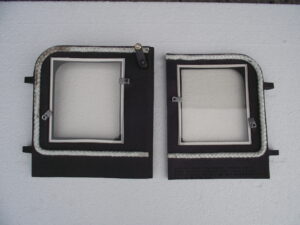
Run a continuous bead of adhesive onto the door in the channel the rope will be placed. Starting with the bound end, choose your start point and work the rope slowly around the door, gently pressing the rope to the door. DO NOT stretch the rope. When you get close to the endpoint, it’s time to bind the other end. Find where the rope will end, wrap the end sealing tape around and cut through the middle. You can then press the final section into place. Go around once more, gently pressing the rope against the door. Leave to set. Drying time and curing process will depend on your chosen adhesive, so ensure you follow the instructions.
Put the doors back onto the stove.
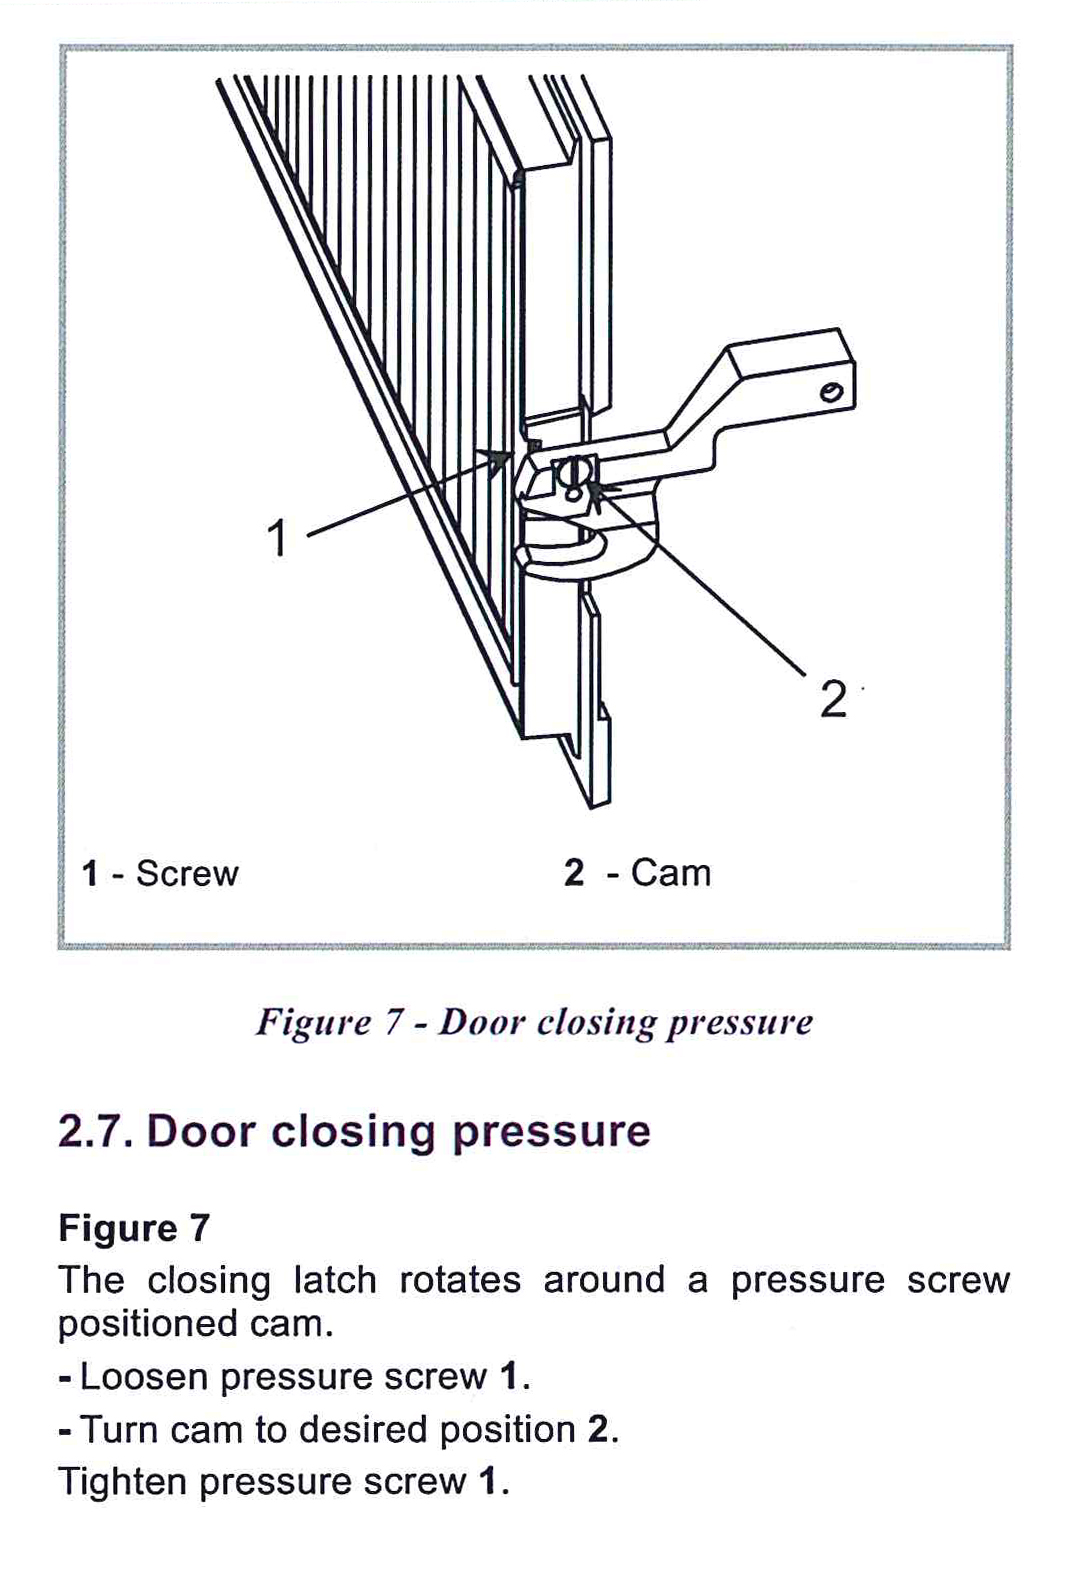
NB: Some manufacturers have a provision to adjust the door locking mechanism. This means when new rope is fitted you can adjust according to the thickness of the rope. As the rope beds in, you can then re-tighten. Here is an example for Franco Belge stoves, but other manufacturers have other methods of overcoming this. Old Villager stoves for example have a nut and bolt which can be tightened/loosened on the latch.
Light Stove. Heat gently upon first firing. And that’s it! If you have followed the instructions you should have successfully replaced your stove door seals.

")


